Tesseract OCR on Android is easier if you Maven-ise it, works on Windows too…
I’ve spent the past few months working on an android application that involves an element of OCR capability, its been quite a painful journey so this is my attempt to reflect on these experiences and hopefully help others who follow in my path.
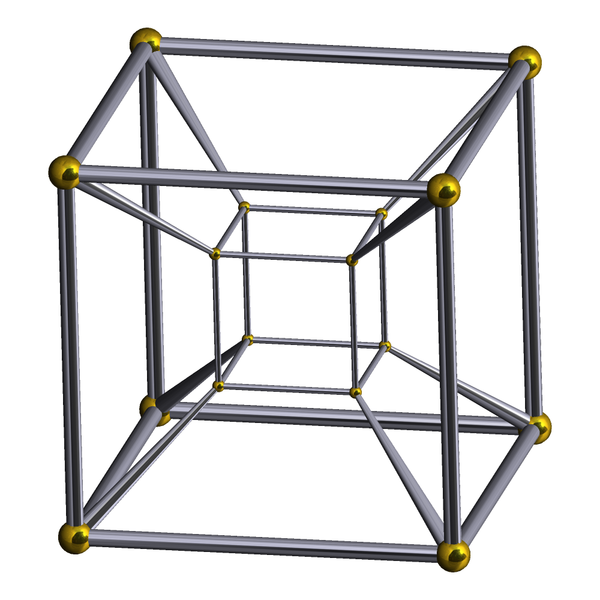
 From Wikipedia : In geometry, the tesseract, also called an 8-cell or regular octachoron or cubic prism, is the four-dimensional analog of the cube.
First off, lets just cover the basics. OCR stands for Optical Character Recognition, which is the process of taking an image, and being able to interpret the image and obtain textual data from it. For example, you take a photograph of a road sign, this would be an image file such as a JPEG. You can clearly see that the road sign says “Slow down”, however to a computer program, its just an image file. OCR enables the program to literally scan the image and find text, which your program can then use elsewhere in its workings.
After spending the best part of several days attempting to create a simple OCR application on android, and after suffering much frustration due to the lack of general resources available on the subject, I was able to find some good material by Gautam and rmthetis.
Whilst those guys have made a fantastic effort in their tutorials, I still needed to do further tasks to get an OCR demo off the ground, so hopefully this post will be a good supplement to their work.
The first misconception I wanted to clean up on is “this will only work on linux“, whilst the tutorials from the aforementioned authors are targetted against linux development environments, the above statement is not entirely true. Following their tutorials I was able to get it working first time on my Windows 7 development laptop. I also got this working on my new replacement Windows 7 laptop a week or two later without any troubles (and mc Macbook Pro too), all I did was follow these instructions which are on the github page for tess-two:
git clone git://github.com/rmtheis/tess-two tess
cd tess/tess-two
ndk-build
android update project --path .
ant release
The above will clone the tess-two project by rmtheis, build the shared objects, update the project, then build the APK. I didn’t have any trouble doing this on a Windows environment. It is worth noting however, that the ndk-build can take time, I think on my first laptop it took around 20-30 minutes to complete, but it was a low spec machine.
Maven is Awesome with a Capital A
Most of the pain I experienced was integrating the libraries into my existing project. My project was already using maven so it made sense to attempt to package up the tess projects as libraries and depend on them as I would any other library, such as commons-lang (I’ve recently discovered that Google Guava is far better, but thats another topic).
I had quite a lot of trouble doing this at first, but it probably wasn’t aided by the fact I was moving my development environment from Windows 7 to Mac OS X Lion, attempting to (for the 3rd time) migrate from IntelliJ Idea to Eclipse (I gave up, Idea is still far superior and easier to use IMHO) and I was trying to ensure the IDE was happy with the project structure, which is no mean feat. I had a lot of problems trying to get m2eclipse to recognise the APKLIB packaging concept, even with the m2eclipse android connector I still struggled with plugin compatibility issues and general mis-understanding between the eclipse plugins and maven. It always compiled directly from the command line however.
Eventually, all it boiled down to, was including a pom.xml in both the tess-two and eyes-two root folders, which instructs maven to package them up as apklib files. As detailed on the android-maven-plugin website, the plugin is smart enough to know that when you request an apklib type project, it knows exactly where to find all the artefacts to include.
After following the above instructions that I’ve pulled from the tess-two github page, drop in this pom.xml into the root folder, tess/tess-two :
<project xmlns="http://maven.apache.org/POM/4.0.0" xmlns:xsi="http://www.w3.org/2001/XMLSchema-instance" xsi:schemaLocation="http://maven.apache.org/POM/4.0.0 http://maven.apache.org/xsd/maven-4.0.0.xsd">
  <modelVersion>4.0.0</modelVersion>
  <groupId>tess-two</groupId>
  <artifactId>tess-two</artifactId>
  <version>0.0.1-SNAPSHOT</version>
  <packaging>apklib</packaging>
  <dependencies>
        <dependency>
            <groupId>com.google.android</groupId>
            <artifactId>android</artifactId>
            <scope>provided</scope>
            <version>2.3.3</version>
        </dependency>
        <dependency>
            <groupId>junit</groupId>
            <artifactId>junit</artifactId>
            <scope>test</scope>
            <version>4.8.2</version>
        </dependency>
    </dependencies>

    <build>
        <sourceDirectory>src</sourceDirectory>

        <plugins>
            <plugin>
                <groupId>com.jayway.maven.plugins.android.generation2</groupId>
                <artifactId>android-maven-plugin</artifactId>
                <extensions>true</extensions>
                <version>3.2.0</version>
                <configuration>
                    <sdk>
                        <platform>10</platform>
                    </sdk>
                    <undeployBeforeDeploy>true</undeployBeforeDeploy>
                    <attachSources>true</attachSources>
                </configuration>
            </plugin>
        </plugins>
    </build>
</project>
Drop into the command line, and run :
mvn clean install
This will then package up the tess-two application into an APKLIB file, and install it to your local maven repository. You can then depend on tess-two for any project you like, using the following dependency :
        <dependency>
            <groupId>tess-two</groupId>
            <artifactId>tess-two</artifactId>
            <version>0.0.1-SNAPSHOT</version>
            <type>apklib</type>
        </dependency>
Of course, feel free to change the group ID or version numbers as you see fit, just make sure they match up to the tess-two pom. You can also use the above approach for the eyes-two project, but remember that eyes-two is dependent on tess-two, so don’t forget the dependency!
You should then be able to start using the TessBaseAPI as Gautam covers in his post, this post here merely gets you going with maven. I’ve been in contact with Robert, chances are we’ll be getting this properly mavenised soon, so you can then depend on it from the central repositories rather than doing the installation mentioned here, we’ll keep you posted. (Robert, if you’re reading, get back to me mate!)
Hope this is of help, any questions then please ask, I’ll also be covering the iOS tesseract soon too, that was a little easier to get started.
Thanks