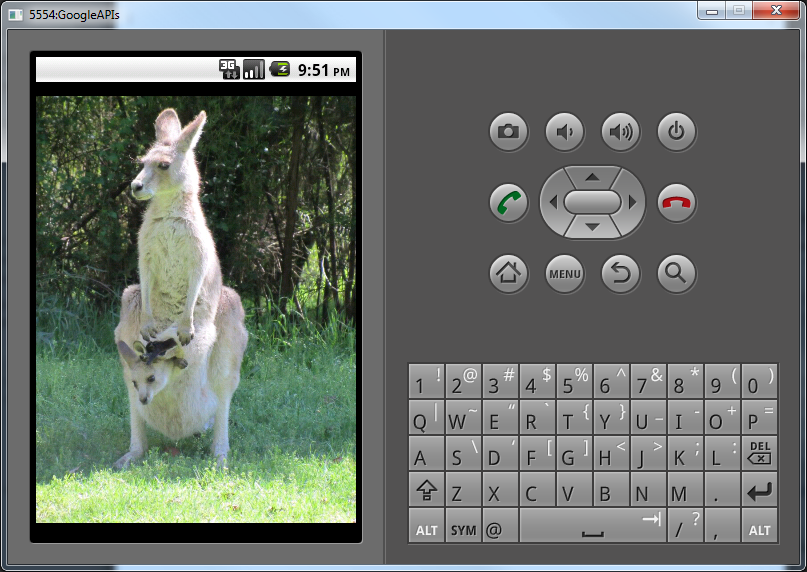
How to add a splash screen to your android application in under 5 minutes
Adding a splash screen to your application is a quick and easy way to make it look more well rounded, complete, and more professional, it can also serve as a useful distraction whereby you have an extra few seconds to initialise your application components before displaying them to the user.

In this post I’ll show you how to quickly and easily add a splash screen into your application, I’ll also show you how you can create an option whereby users may disable or enable the splash screen for subsequent launches of your application. I’ll also post up my sample code freely on Github so you can checkout what I’ve done and use as you please.
So lets get started right away and create the application, we’ll go ahead and create 3 activities as detailed below, and also shut off the title bar.
<?xml version="1.0" encoding="utf-8"?>
<manifest xmlns:android="http://schemas.android.com/apk/res/android"
      package="com.jameselsey.android.demo.androidsplashscreen"
      android:versionCode="1"
      android:versionName="1.0">
    <application android:label="@string/app_name" android:theme="@android:style/Theme.NoTitleBar">
        <activity android:name="SplashActivity"
                  android:label="@string/app_name">
            <intent-filter>
                <action android:name="android.intent.action.MAIN" />
                <category android:name="android.intent.category.LAUNCHER" />
            </intent-filter>
        </activity>
        <activity android:name="MainActivity"
                  android:label="@string/app_name">
        </activity>
        <activity android:name="EditPreferences"
                android:label="@string/app_name">
        </activity>
    </application>
</manifest>
The Splash activity will be the activity that handles the splash screen (Oh, really?!). Since we want to intercept any user launches of the application, we’ll make this the main entry point.
public class SplashActivity extends Activity
{
	// Set the display time, in milliseconds (or extract it out as a configurable parameter)
	private final int SPLASH_DISPLAY_LENGTH = 3000;

	@Override
	protected void onCreate(Bundle savedInstanceState)
	{
		super.onCreate(savedInstanceState);
		setContentView(R.layout.splash);
	}

	@Override
	protected void onResume()
	{
		super.onResume();
		SharedPreferences sp = PreferenceManager.getDefaultSharedPreferences(this);
		// Obtain the sharedPreference, default to true if not available
		boolean isSplashEnabled = sp.getBoolean("isSplashEnabled", true);

		if (isSplashEnabled)
		{
			new Handler().postDelayed(new Runnable()
			{
				@Override
				public void run()
				{
					//Finish the splash activity so it can't be returned to.
					SplashActivity.this.finish();
					// Create an Intent that will start the main activity.
					Intent mainIntent = new Intent(SplashActivity.this, MainActivity.class);
					SplashActivity.this.startActivity(mainIntent);
				}
			}, SPLASH_DISPLAY_LENGTH);
		}
		else
		{
			// if the splash is not enabled, then finish the activity immediately and go to main.
			finish();
			Intent mainIntent = new Intent(SplashActivity.this, MainActivity.class);
			SplashActivity.this.startActivity(mainIntent);
		}
	}
}
In the onCreate we’re initialising the view layout, in my case I’m just referring to the splash view which has just a simple ImageView, but yours could contain anything such as images, text, adverts, possibly even combine it with a ProgressBar.
In the onResume, which is invoked after the create, we’re attempting to retrieve a saved variable, defaulting to true if it is not currently set.
A simple check on that boolean decides whether we should spawn a handler with a pre-defined delay, or finish the activity and move onto the main. In either case, we always want to call finish on the splash activity so that the activity is destroyed safely and the user cannot return back to it, then we create an intent to MainActivity and start it.
Arguably, there is more than one way of achieving this, we could use an AsyncTask, or even just spawn off a raw Thread, but I find the handler approach is much cleaner for this task whereby we can use an anonymous inner class rather than a regular inner class, also we don’t need any of the hooks into the UI which the AsyncTask provides, I deem that slightly overkill for such scenario.
That will pretty much get you a splash screen, now lets improve this a little by letting the user disable if they want.
First task we need to do is allow the use of the “menu” button on the device, by adding an override on onOptionsItemSelected in the MainActivity (or anywhere we want to allow this behaviour)
public class MainActivity extends Activity
{
	@Override
	protected void onCreate(Bundle savedInstanceState)
	{
		super.onCreate(savedInstanceState);
		setContentView(R.layout.main);
	}

	@Override
	public boolean onCreateOptionsMenu(Menu menu)
	{
		MenuInflater inflater = getMenuInflater();
		inflater.inflate(R.menu.options_menu, menu);
		return true;
	}

	/**
	 * This method will be called any time a user selects one of the options
	 * on the menu. For the implementation, whichever button is clicked is
	 * mapped onto the relevant activity.
	 * @param item MenuItem
	 * @return boolean
	 */
	@Override
	public boolean onOptionsItemSelected(MenuItem item)
	{
		switch (item.getItemId())
		{
			case R.id.preferences:
				startActivity(new Intent(this, EditPreferences.class));
				return true;
			default:
				return super.onOptionsItemSelected(item);
		}
	}
}
Of course we also need to create the EditPreferences activity too, which in all fairness, exists purely to load preferences from an XML resource file :
public class EditPreferences extends PreferenceActivity
{
	@Override
	public void onCreate(Bundle savedInstanceState)
	{
		super.onCreate(savedInstanceState);
	}

	@Override
	protected void onResume()
	{
		super.onResume();
		addPreferencesFromResource(R.xml.preferences);
	}
}
Adding the following shared preference :
<PreferenceScreen
        xmlns:android="http://schemas.android.com/apk/res/android">
    <CheckBoxPreference
            android:id="@+id/isSplashEnabled"
            android:key="isSplashEnabled"
            android:title="Splash screen enabled"
            android:summary="Select to enable the splash screen on application startup"
            android:defaultValue="true"/>
</PreferenceScreen>

That is all you need to do! I’ve intentionally left out some of the layout resource files, but you can look them all up on the Github entry I created.
Hope that helps, any comments or suggestions please let me know!