Reading NMEA data with the NEO-6M GPS module and ESP32

At a glance
I’m building a GPS tracker for a project, and I wanted to get familiar with this NEO module before I add it to several other components, so I did a basic sample of how to read GPS data.
The module works very well for the $7 price point, I have taken it out in my car for a 50km drive and all the datapoints were on the road, and mostly in the correct lane. There were a few places where it had me on the hard shoulder of the road which is incorrect, but it’s close enough for my needs. It didn’t randomly place me in the middle of a field somewhere!
The only downside I see to these cheap modules is that the antennas aren’t great, inside my house I’m not able to get a signal, likely due to my metal roof and awnings, but outside in open sky it finds a GPS signal within a few seconds, which is fantastic.
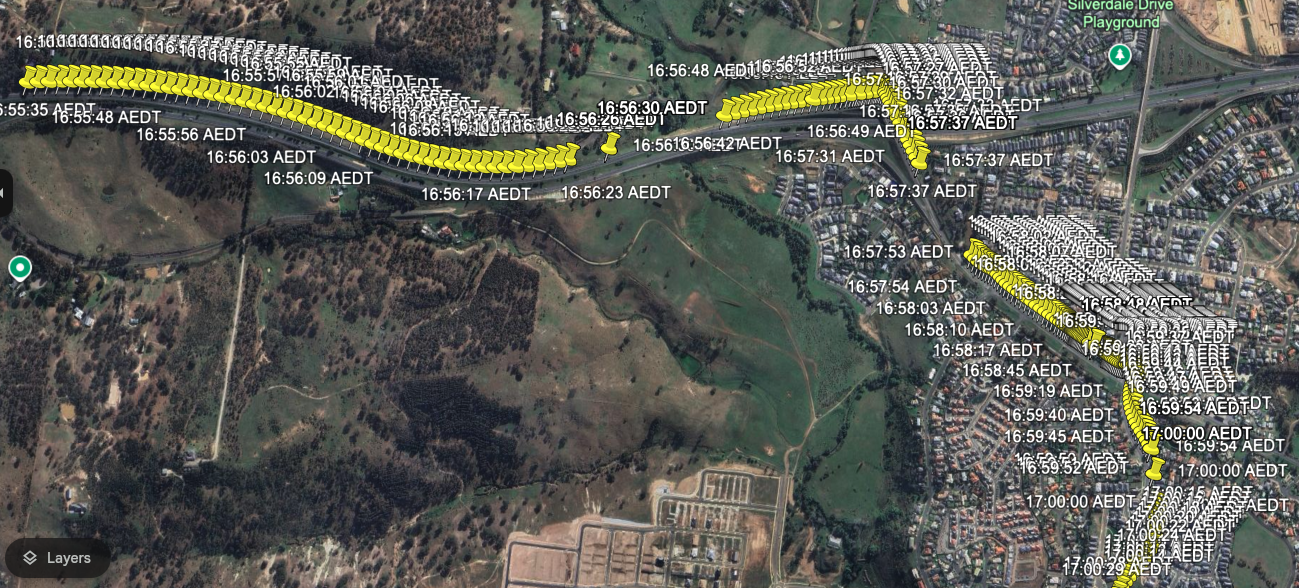
Here’s a sample track from a drive I did, I converted the output to KML and loaded it into Google earth. Notice how the GPS skips every so often, almost as if it’s not able to receive data.

Hardware
The parts I used:
- ESP32
- NEO-6M GPS module from Temu
- Jumper wires
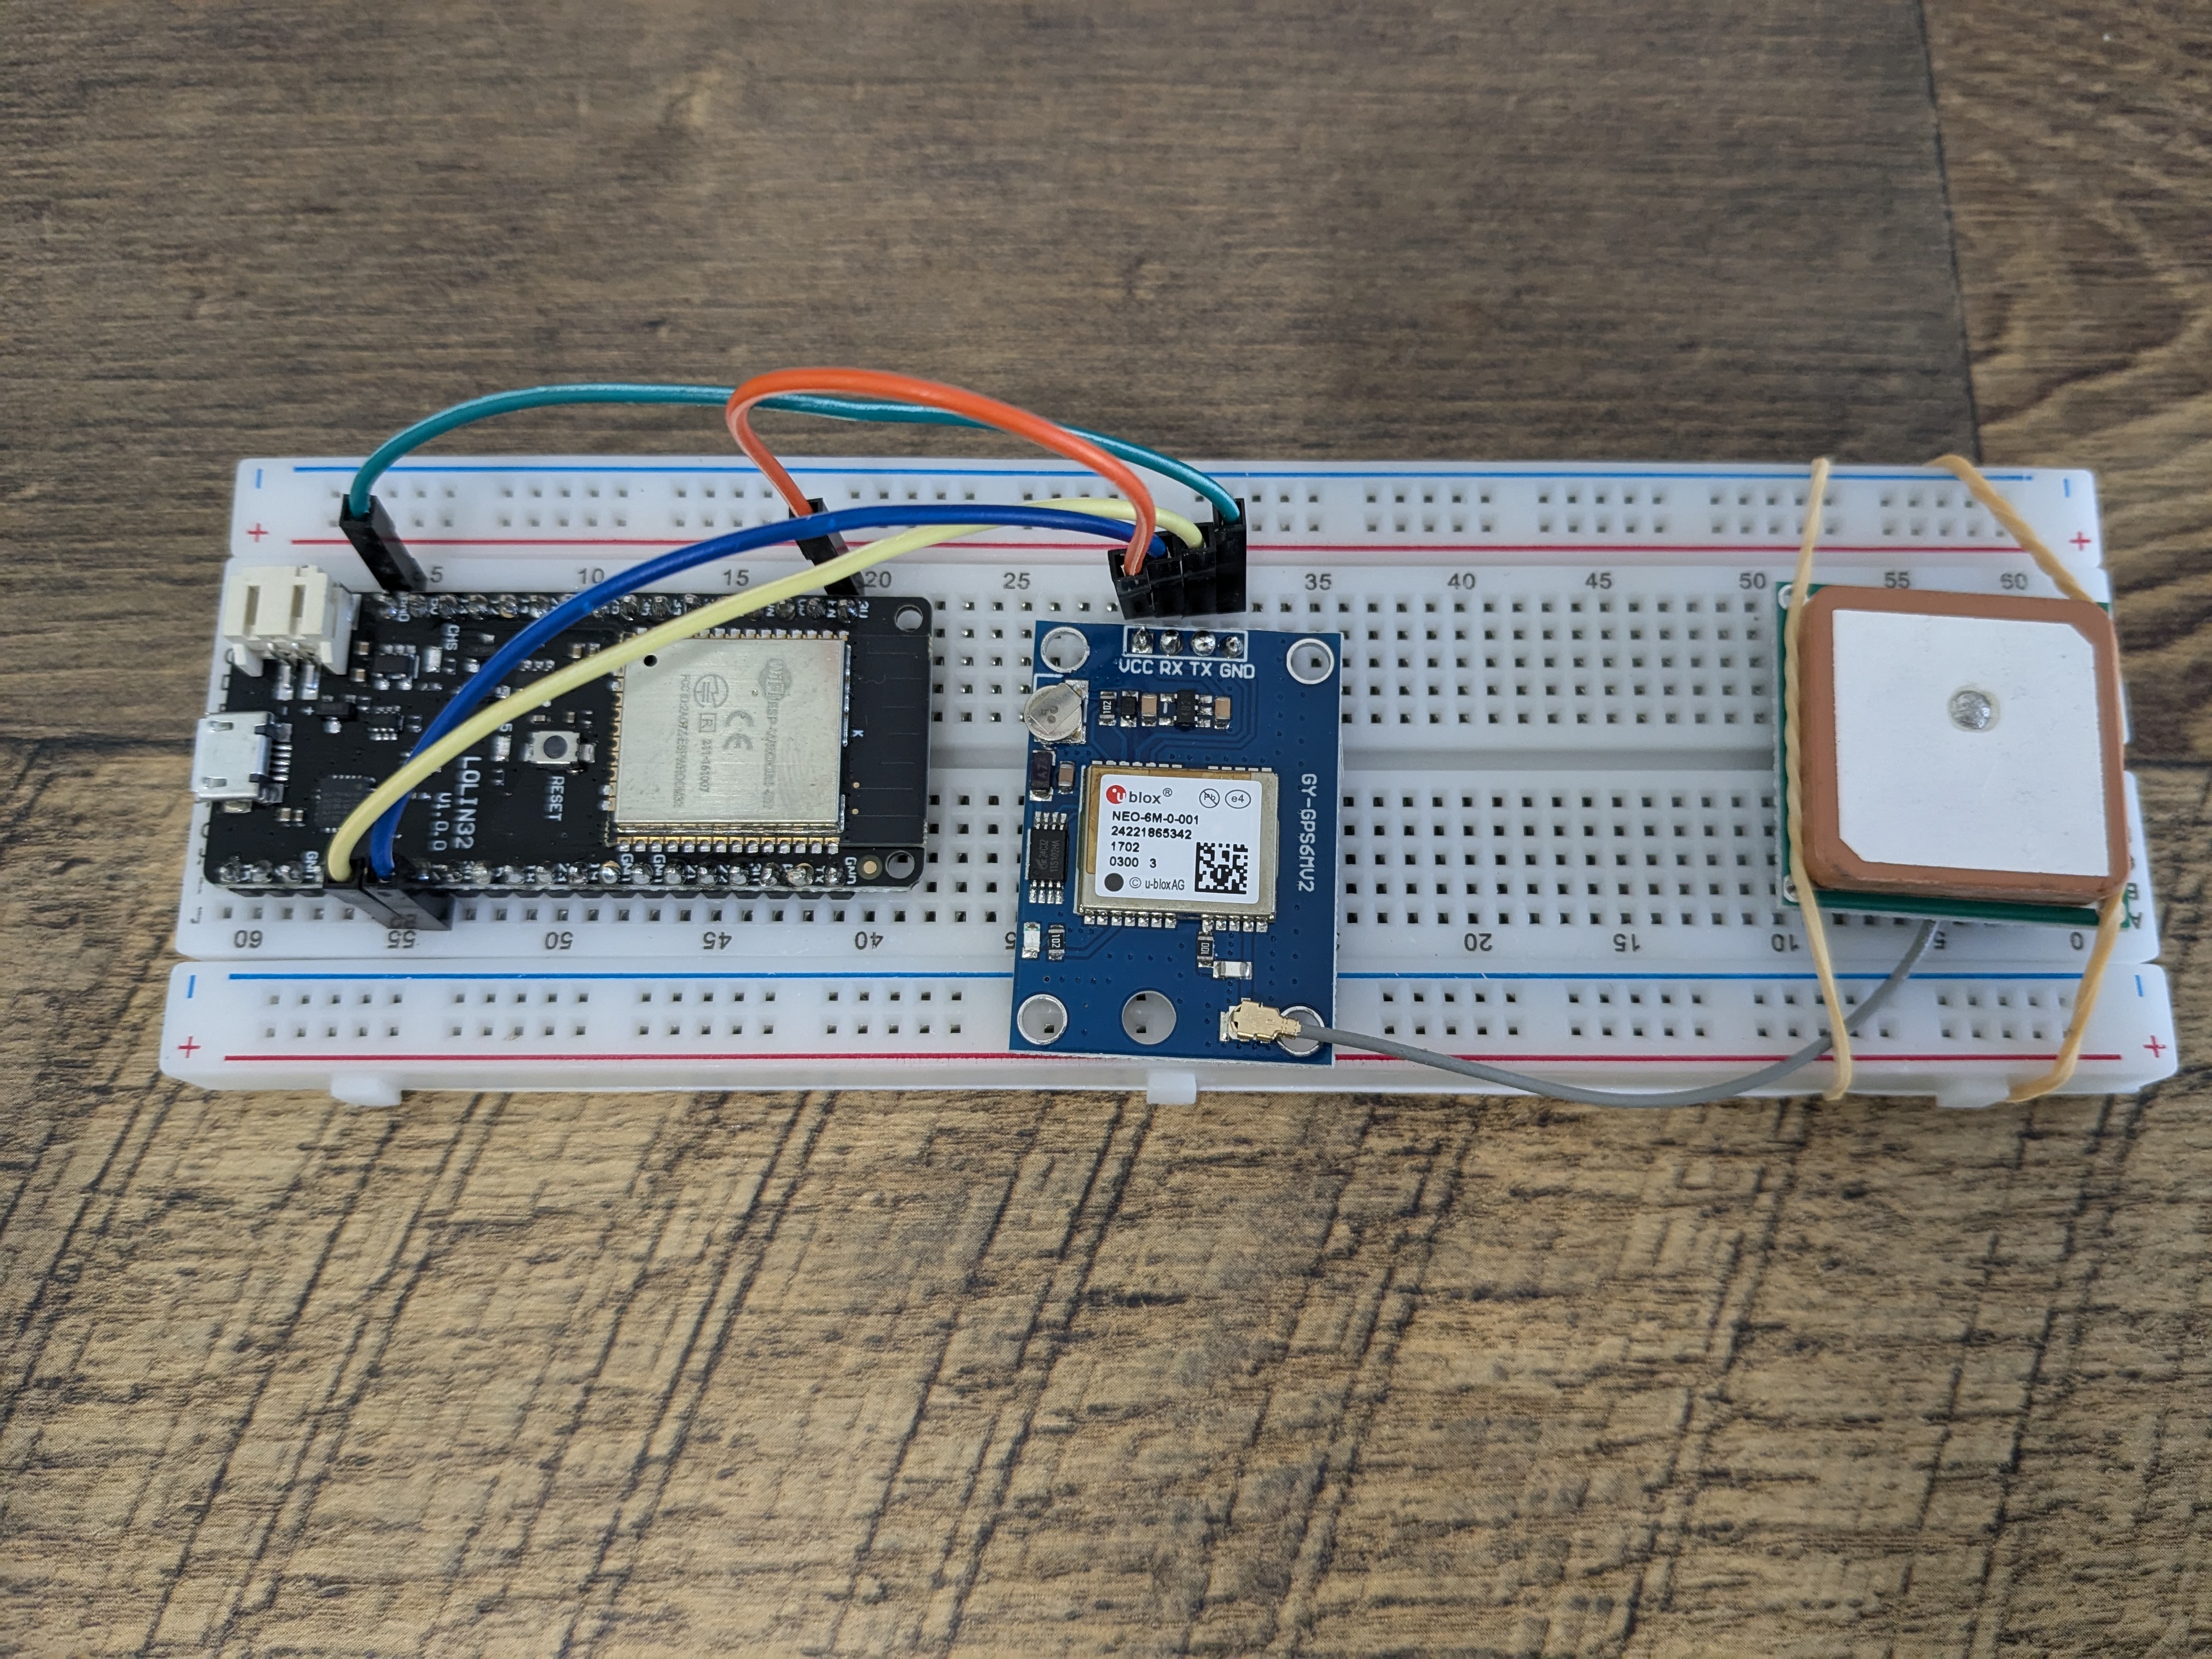
As with most cheap electronics from the likes of Aliexpress or Temu, you don’t get any instructions or guides, so here’s my wiring
| Module Pin Number | Pin Name | Description | ESP32 Pin |
|---|---|---|---|
| 1 | GND | Power ground | GND |
| 2 | TX | Serial TX | GPIO 17 |
| 3 | RX | Serial RX | GPIO 16 |
| 4 | VCC | Power positive (+3.3V) | 3.3V |
Software
Libraries
- https://github.com/mikalhart/TinyGPSPlus
I used the TinyGPS++ library, which made it very easy to access GPS data. There’s a bit of setup to do first
Firstly, include the library and define the global variables
#include <TinyGPS++.h>
#include <HardwareSerial.h>

// Define GPS Serial
HardwareSerial gpsSerial(1); // Using UART1
TinyGPSPlus gps;
Then you need to start the serial connection, in your setup function
gpsSerial.begin(GPSBaud, SERIAL_8N1, RXPin, TXPin); // Begin serial for GPS
Then in your loop, you can continually read the GPS data and do whatever you need, in my case I just print it to the serial
// Continuously read data from the GPS module
  while (gpsSerial.available() > 0) {
    char c = gpsSerial.read();
    gps.encode(c);  // Parse the incoming data

    // If valid GPS data is available, print latitude and longitude
    if (gps.location.isUpdated()) {
      Serial.println(
        String(gps.date.value()) + " " +
        String(gps.time.value()) + " " +
        "lat/lon: " +
        String(gps.location.lat(), 6) + "," +
        String(gps.location.lng(), 6) + " " +
        "altitude: " +
        String(gps.altitude.meters()) + "m " +
        "speed: " +
        String(gps.speed.kmph()) + " km/h " +
        "heading(degrees): " +
        String(gps.course.deg())
      );
    }
  }
Here’s the full code for my demo
#include <TinyGPS++.h>
#include <HardwareSerial.h>

// Define GPS Serial
HardwareSerial gpsSerial(1); // Using UART1
TinyGPSPlus gps;

// Pin definitions for ESP32
#define RXPin 16  // GPS TX to ESP32 RX
#define TXPin 17  // GPS RX to ESP32 TX
#define GPSBaud 9600  // GPS baud rate

void setup() {
  Serial.begin(115200);  // Start serial for ESP32 console output
  gpsSerial.begin(GPSBaud, SERIAL_8N1, RXPin, TXPin);  // Begin serial for GPS

  Serial.println("GPS Module Test Starting...");
}

void loop() {
  // Continuously read data from the GPS module
  while (gpsSerial.available() > 0) {
    char c = gpsSerial.read();
    gps.encode(c);  // Parse the incoming data

    // If valid GPS data is available, print latitude and longitude
    if (gps.location.isUpdated()) {
      Serial.println(
        String(gps.date.value()) + " " +
        String(gps.time.value()) + " " +
        "lat/lon: " +
        String(gps.location.lat(), 6) + "," +
        String(gps.location.lng(), 6) + " " +
        "altitude: " +
        String(gps.altitude.meters()) + "m " +
        "speed: " +
        String(gps.speed.kmph()) + " km/h " +
        "heading(degrees): " +
        String(gps.course.deg())
      );
    }
  }

  // Add a small delay to avoid flooding the serial output
  delay(1000);
}
